AUGUSTA, IN · Available 24/7 · (317) 342-7736

Attic Water Damage in Augusta: Roof Leak Restoration Steps

3eb92760 b9b3 476b a727 f99e9d2dc758

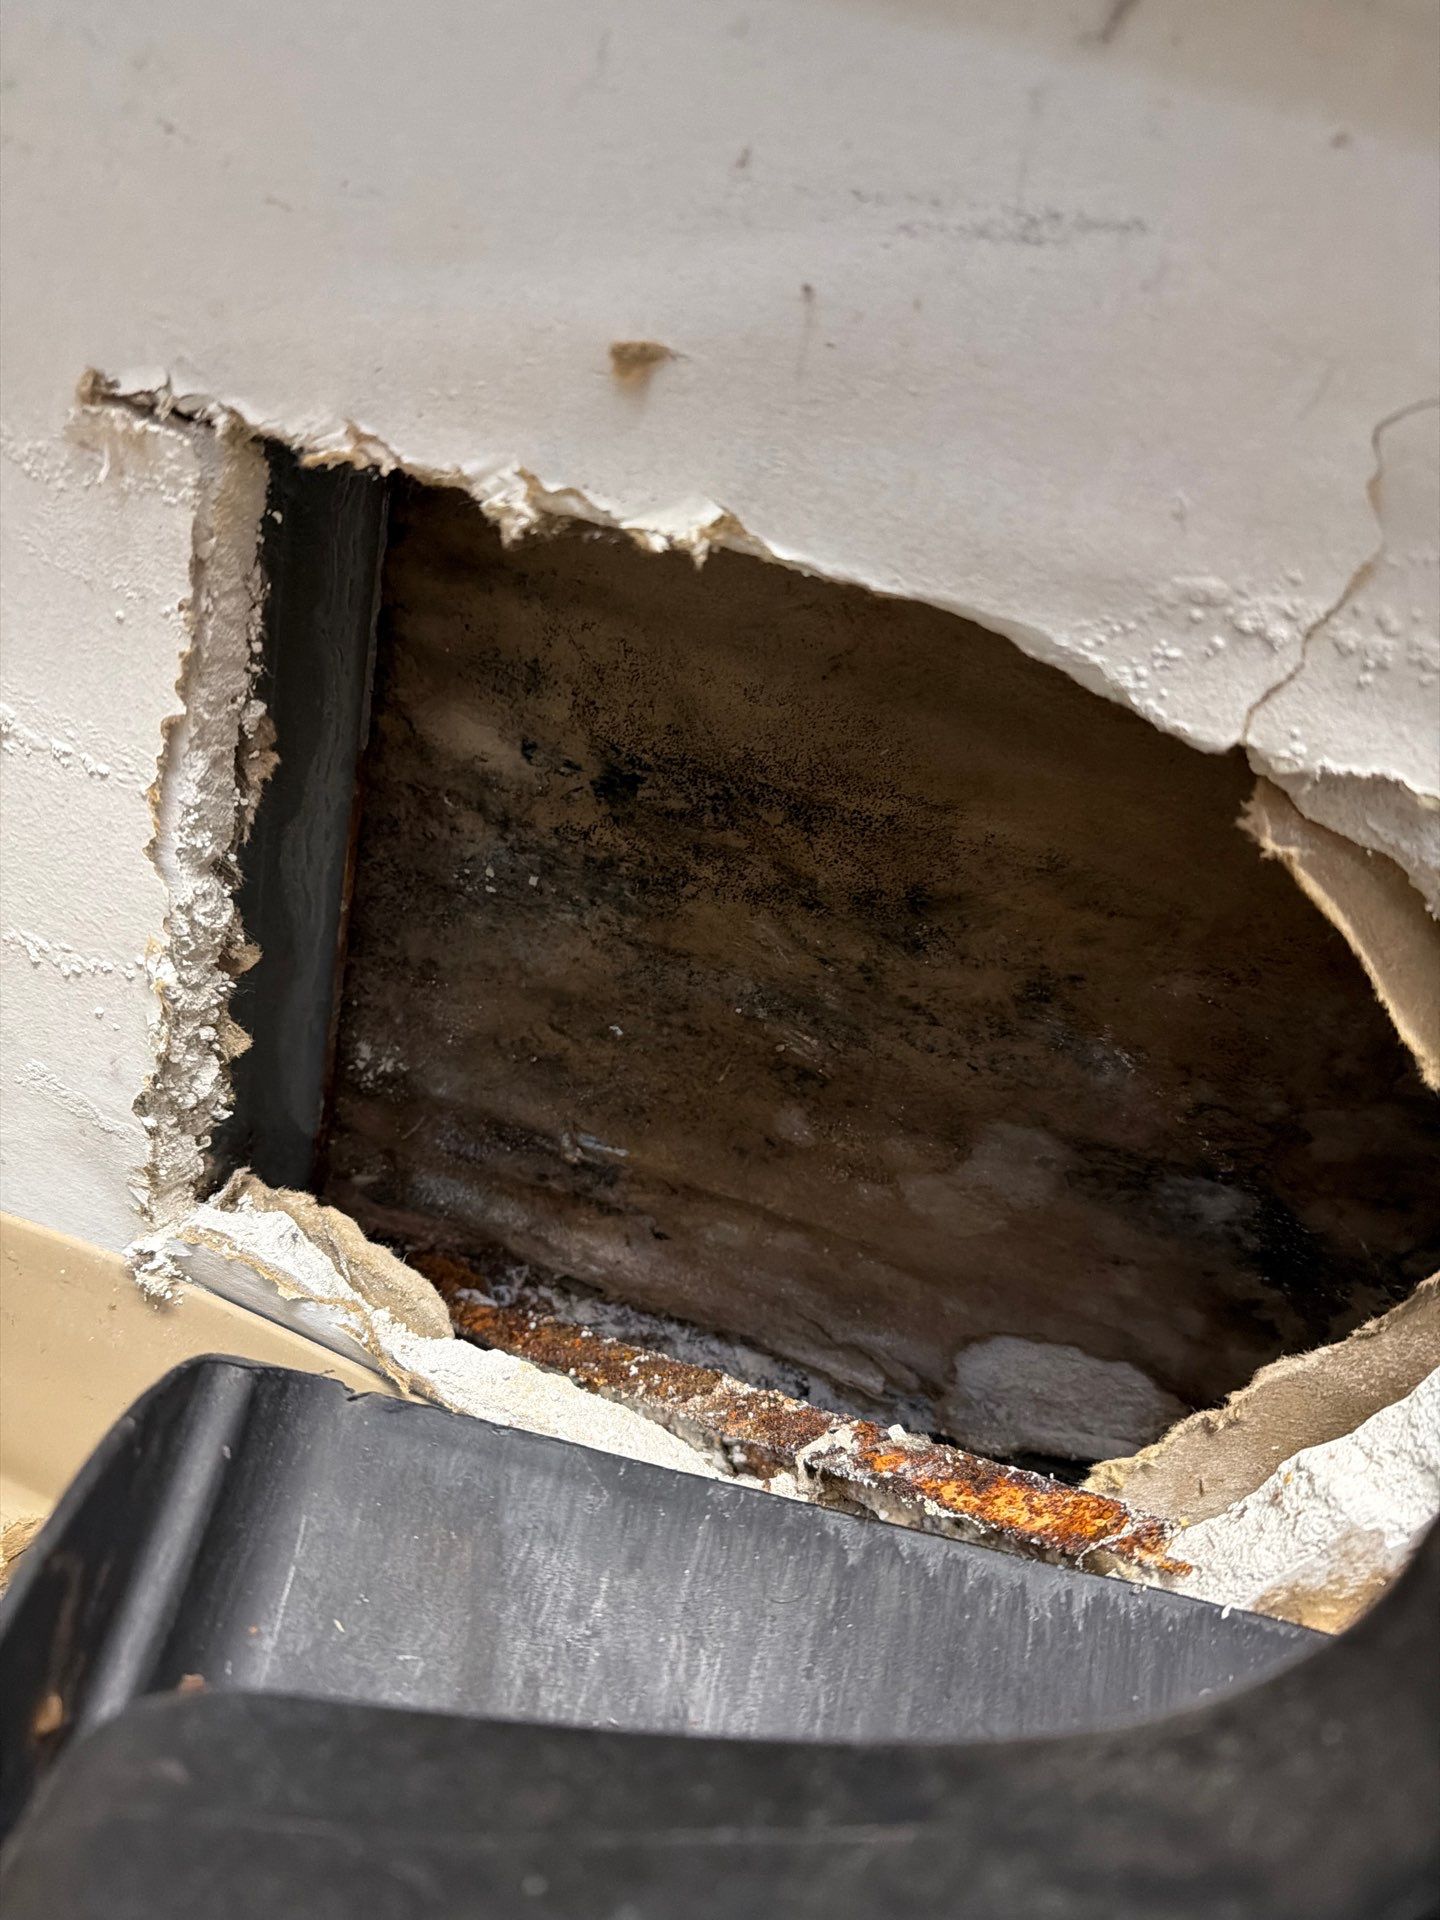
The first sign is almost never dramatic. A brown ring on the bedroom ceiling, a faint musty smell when you walk past the hall closet, a soft spot near the chimney chase that you swore was solid last spring. By the time most Augusta homeowners climb into the attic with a flashlight, the leak has already been working for weeks, sometimes months, quietly soaking insulation, framing, and drywall above the rooms where your family sleeps. That is the cruel math of attic water damage. The space you visit twice a year hides the problem until it becomes expensive.

At Augusta Water Restoration, we have been pulling saturated insulation out of Augusta attics since 2018, and the calls follow a pattern. A storm rolls through, shingles lift, flashing fails around a vent boot, and the next heavy rain finds the opening. The homeowner sees the ceiling stain on a Sunday night and starts searching at 11pm for someone who can actually help. If that is where you are right now, take a breath. This guide walks you through what is happening above your ceiling, how a professional restoration crew approaches it, and what the realistic cost and timeline look like in central Indiana. And if we cannot help, we will tell you directly.

Step-by-Step Attic Water Damage Restoration Protocol

Step 1: Safety Assessment and Power Isolation

  1. Shut off the breaker feeding any attic-mounted junction boxes, bath fans, or recessed cans within 6 feet of the wet zone.
  2. Test for energized wiring with a non-contact voltage tester before stepping on any joist.
  3. Check ceiling drywall below the leak for sagging greater than 1/2 inch. Sagging at that depth indicates a saturated cavity holding 1 to 5 gallons of standing water.
  4. Relieve ceiling pressure by drilling a 1/4 inch weep hole into the lowest sag point and draining into a 5 gallon bucket.
  5. Confirm no asbestos vermiculite insulation is present. Vermiculite with a pebble-like, gold-silver appearance requires licensed abatement before any other work proceeds.
  6. Verify attic temperature before entry. Augusta Water Restoration crews do not enter Augusta attics above 115 degrees Fahrenheit without forced ventilation and rotating two-person teams on 20 minute cycles.
  7. Lay 3/4 inch plywood walk boards across joists. Stepping directly on drywall or unsupported insulation risks a foot-through ceiling failure.

Step 2: Source Identification

  1. Inspect the underside of the roof decking with a 1,000 lumen light. Look for daylight, dark staining, or active drip points.
  2. Trace water trails uphill. Roof leaks travel along rafters and trusses, often appearing 4 to 12 feet from the actual penetration point.
  3. Check the top six common failure points: pipe boot cracks, nail pops, step flashing at sidewalls, chimney counterflashing, valley underlayment tears, and ice dam backflow at the eave.
  4. Mark each suspected entry point with blue tape and photograph for the insurance file.
  5. If active rain is forecast within 24 hours, install an emergency tarp rated for at least 30 days of UV exposure, fastened with 1 1/4 inch cap nails into rafters, not just decking.
  6. Rule out condensation as the source. Bath fan ducts terminating inside the attic, missing vapor barriers, or undersized soffit intake all mimic roof leaks and produce uniform decking wetness rather than a localized stain pattern.
  7. Check HVAC condensate lines and primary pan overflow if an air handler is mounted in the attic. A clogged trap can dump 5 to 15 gallons per day.

Step 3: Moisture Mapping

  1. Take baseline moisture readings on dry attic framing in an unaffected area. Typical dry kiln-dried lumber reads 9 to 14 percent.
  2. Scan the affected decking with a pin-type meter. Readings above 18 percent indicate the wood is wet enough to support mold growth within 48 to 72 hours.
  3. Probe the insulation with an extended pin probe. Blown cellulose holds water at 200 to 300 percent of its dry weight and almost always requires removal.
  4. Use a thermal imaging camera to identify cold spots on the ceiling drywall below. Cold spots correlate with hidden saturation that surface meters miss.
  5. Document every reading on a moisture map. Augusta Water Restoration attaches this map to the claim packet so the adjuster sees defensible scope, not estimates.
  6. Grid the affected area in 4 foot squares and record readings at each intersection. This produces a defensible saturation boundary rather than a guess.

Step 4: Containment and Insulation Removal

  1. Build a 6 mil poly containment at the attic hatch with a zipper door and one negative-air machine running at 500 to 2,000 CFM through a HEPA filter.
  2. Vacuum wet blown insulation with an insulation removal vac at 150 to 185 inches of water lift. Bag directly into 3 mil contractor bags.
  3. Cut and remove wet batt insulation in 4 foot sections. Do not roll wet fiberglass, it sheds airborne particles.
  4. Dispose of all wet insulation. Drying saturated insulation is not cost-effective and rarely restores R-value above 60 percent of original.
  5. Stage a 4 inch diameter vac hose from the attic to a curbside trailer or roll-off. Hauling bags through finished living space drops debris and risks secondary contamination claims.
  6. For more on what professional drying covers across the home, our water mitigation services overview walks through the full equipment stack.

Step 5: Structural Drying

  1. Stage one low-grain refrigerant dehumidifier per 1,500 cubic feet of attic volume, targeting 30 to 40 percent relative humidity.
  2. Position two to four axial air movers at 45 degree angles to the wet decking. Air movement should be roughly 1 air mover per 12 to 16 linear feet of wet rafter.
  3. Run continuously for 72 to 96 hours. Take meter readings every 24 hours.
  4. Target a final moisture content of 15 percent or less in framing and 12 percent or less in plywood decking.
  5. If readings stall above 20 percent after 72 hours, the leak source is still active or condensation cycling is occurring. Re-inspect.
  6. Log dehumidifier grain depression at each visit. A healthy unit should pull 30 to 50 grains per pound between intake and discharge. Below 15 grains signals filter loading or refrigerant issues.

Step 6: Antimicrobial Treatment and Mold Check

  1. Apply an EPA-registered antimicrobial to all dried framing and decking using an electric pump sprayer at 40 to 60 PSI.
  2. If visible mold colonization exceeds 10 square feet, treat as a remediation project under IICRC S520, not a drying job. See our notes on mold after water damage for how that scope changes.
  3. Encapsulate stained but structurally sound decking with a pigmented shellac sealer once moisture is below 15 percent.
  4. Document final readings and photograph every treated surface.
  5. Collect a post-treatment air sample if occupants have respiratory sensitivity or if the loss exceeded Category 2 water. Lab turnaround is typically 48 to 72 hours.

Step 7: Roof Repair and Reconstruction

  1. Repair the active leak before reinsulating. New pipe boots, replacement step flashing, valley underlayment, or shingle sections as needed.
  2. Replace decking sections that show delamination, soft spots, or moisture content stuck above 19 percent after extended drying.
  3. Reinstall insulation to the original R-value spec. In Augusta attics, that is typically R-49 to R-60 for blown cellulose or fiberglass.
  4. Replace stained ceiling drywall below if the gypsum core was wetted. Painted-over stains bleed through within 6 to 18 months without proper sealing.
  5. Verify soffit and ridge ventilation is unblocked after reinsulating. A 1:300 net free vent area ratio is the minimum to prevent recurrence.
  6. For ceiling cavity work below the attic, our ceiling water damage repair guide details the cut-and-replace approach.

Step 8: Final Documentation

  1. Final moisture readings on all affected materials.
  2. Equipment log showing run hours and dehumidifier grain depression.
  3. Photo set: pre-loss, mid-process, post-completion.
  4. Itemized scope tied to Xactimate line items for the adjuster.
  5. Signed certificate of satisfaction from the homeowner once final readings meet target.
  6. Copy of the moisture map, antimicrobial product SDS, and any third-party air sampling results in the closeout packet.

Get Eyes on the Damage Before It Spreads

Attic water damage rewards speed and punishes delay. Every day that saturated insulation sits against your ceiling drywall, the repair scope grows and the mold risk compounds. If you are seeing stains, smelling something musty, or you just watched a storm pass through and want to know whether your attic took on water, Augusta Water Restoration can put a certified technician on your Augusta property today. We will tell you exactly what we find, what it will cost, and whether you actually need full restoration or just monitoring. Honest assessment, IICRC-certified work, and a team that has been doing this in central Indiana since 2018. Call when you are ready.

Frequently Asked Questions

How do I know if my attic leak is an emergency or can wait until morning?

If water is actively dripping into living space, the ceiling is sagging, or you can see daylight through the roof deck, call Augusta Water Restoration immediately. A slow stain that has not grown in 24 hours can wait until business hours, but in Augusta's humid climate you should still have it assessed within 48 hours to prevent mold.

Will my homeowners insurance cover attic water damage from a roof leak?

Sudden events like storm damage, hail, or wind-lifted shingles are typically covered. Long-term seepage, deferred maintenance, or ice damming that has recurred for years is often excluded. Augusta Water Restoration documents the loss using IICRC S500 language that insurance adjusters in Augusta recognize, which improves your odds of a fair claim.

Can wet attic insulation be dried, or does it always need to be replaced?

Fiberglass batts can sometimes be dried if caught within 24 hours and not contaminated. Blown-in cellulose almost always needs removal because it mats down, loses R-value, and holds moisture against the joists. We make that call after measuring moisture content, not by eye.

How much does it cost to restore attic water damage in Augusta?

Most Augusta attic restorations fall between $2,400 and $6,500 for moderate damage, with minor leaks running $800 to $1,800 and severe long-term damage exceeding $14,000. The biggest cost drivers are insulation removal, mold remediation, and whether roof decking needs to be replaced.

Do you coordinate with roofers, or do I need to hire that separately?

Augusta Water Restoration handles the water mitigation, drying, mold work, and interior rebuild. We coordinate directly with your roofer on timing and documentation so the leak source is repaired before we close the ceiling. If you do not have a roofer, we can recommend trusted Augusta contractors we have worked alongside on prior jobs.